Templates table

- Template Name — Opens the full details of the template
- ID — The unique
ClickwrapTemplateIdused in the API - Created date — When the template was created
- Version — The currently effective version
- Tags — Tags associated with the template
- Enabled — Whether users can see this template in clickwrap flows
- Actions — Options such as “View events”
The ID column is especially important when you integrate ClickTerm into your product.
Search & Filters — You can use the top bar to search by template name or ID,
filter by creation date, enabled/disabled status, associated tags, or linked apps.
What you can do here
View or edit a template
Click the template name to open its details. You can review the text, check version history, create a new version or draft.View version history
Click the currently effective version of the template to see all published versions.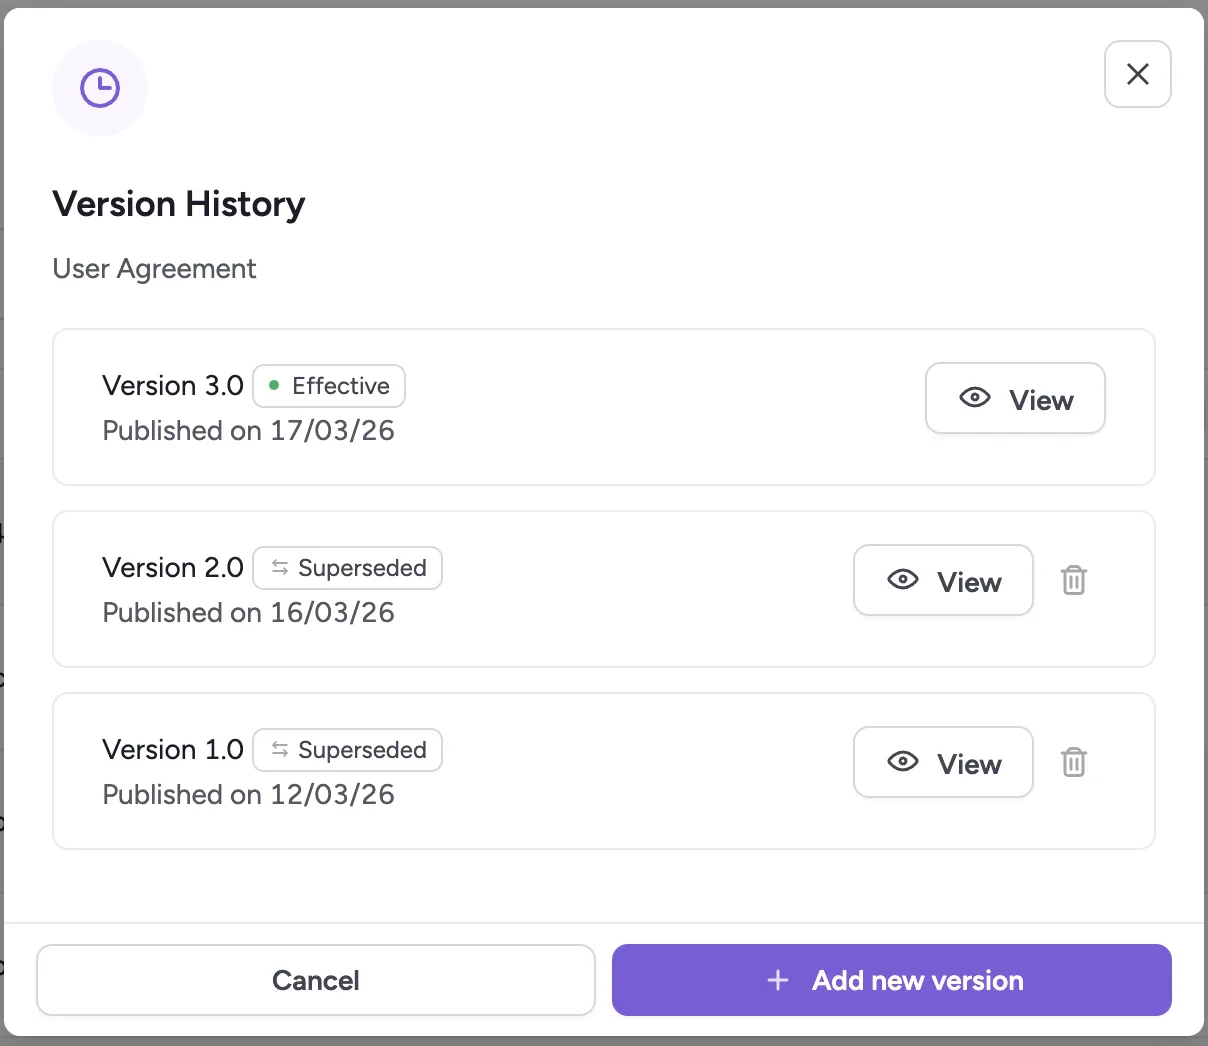
Enable or disable a template
Use the toggle to activate or deactivate the template. Only enabled templates may appear in clickwrap flows.Disabled templates are excluded from API responses.
View events
Open all consent-related events linked to a template, including device information, timestamps, IP, and other metadata.Configure template settings
Template tags
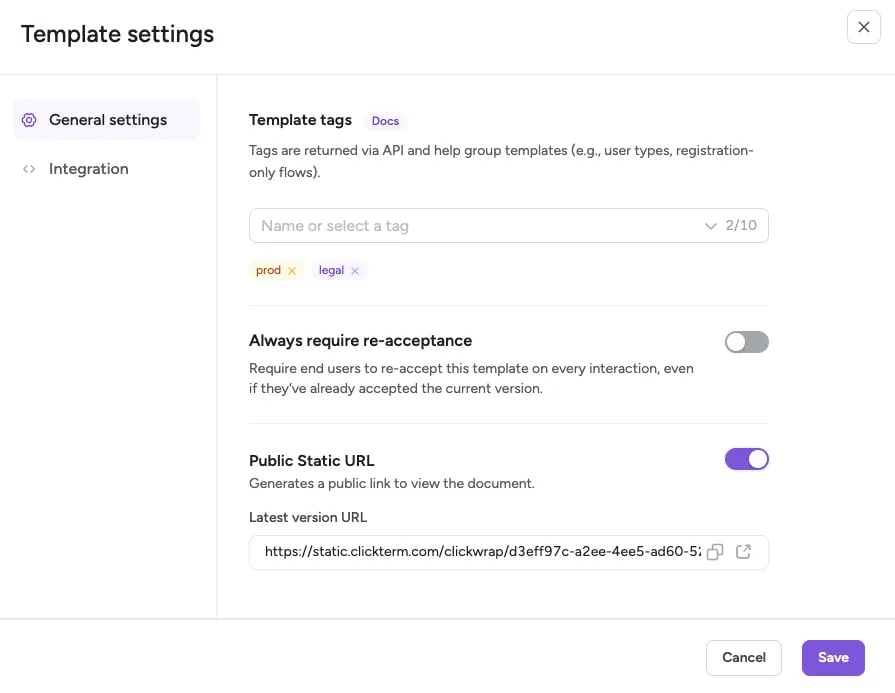
Tags are returned via the API and help you group templates (for example, by user types or registration-only flows). Add or remove tags from the General settings tab.Always require re-acceptance
The Always require re-acceptance toggle requires end users to re-accept this template on every interaction, even if they’ve already accepted the current version. Use it when passive carry-over of consent across sessions is not legally sufficient for your use case. When the toggle is on, a user who has already accepted the current major version is re-prompted each time, and re-signing creates a new consent event alongside the existing one. The prior acceptance stays binding and unchanged - turning it on never retroactively invalidates an agreement, it only changes future behavior.Only Owners and Admins can change this setting. Members cannot toggle it.
reAcceptanceRequired flag on the consent status endpoint.
If you need a one-off re-acceptance for specific users or templates instead of a standing policy, see Request clickwrap re-acceptance.
Public Static URL
If the template has published content, enable Public Static URL to generate a public link that anyone can use to view the document.Create a new template
Click the New Template button in the top right corner to set up a new template. After you create it, a uniqueClickwrapTemplateId is generated automatically.
Next steps
Editing content & publishing
Write and publish your template content using the rich text editor.
Placeholders
Insert dynamic fields like name, email, and company into your templates.