How to customize
Open a template
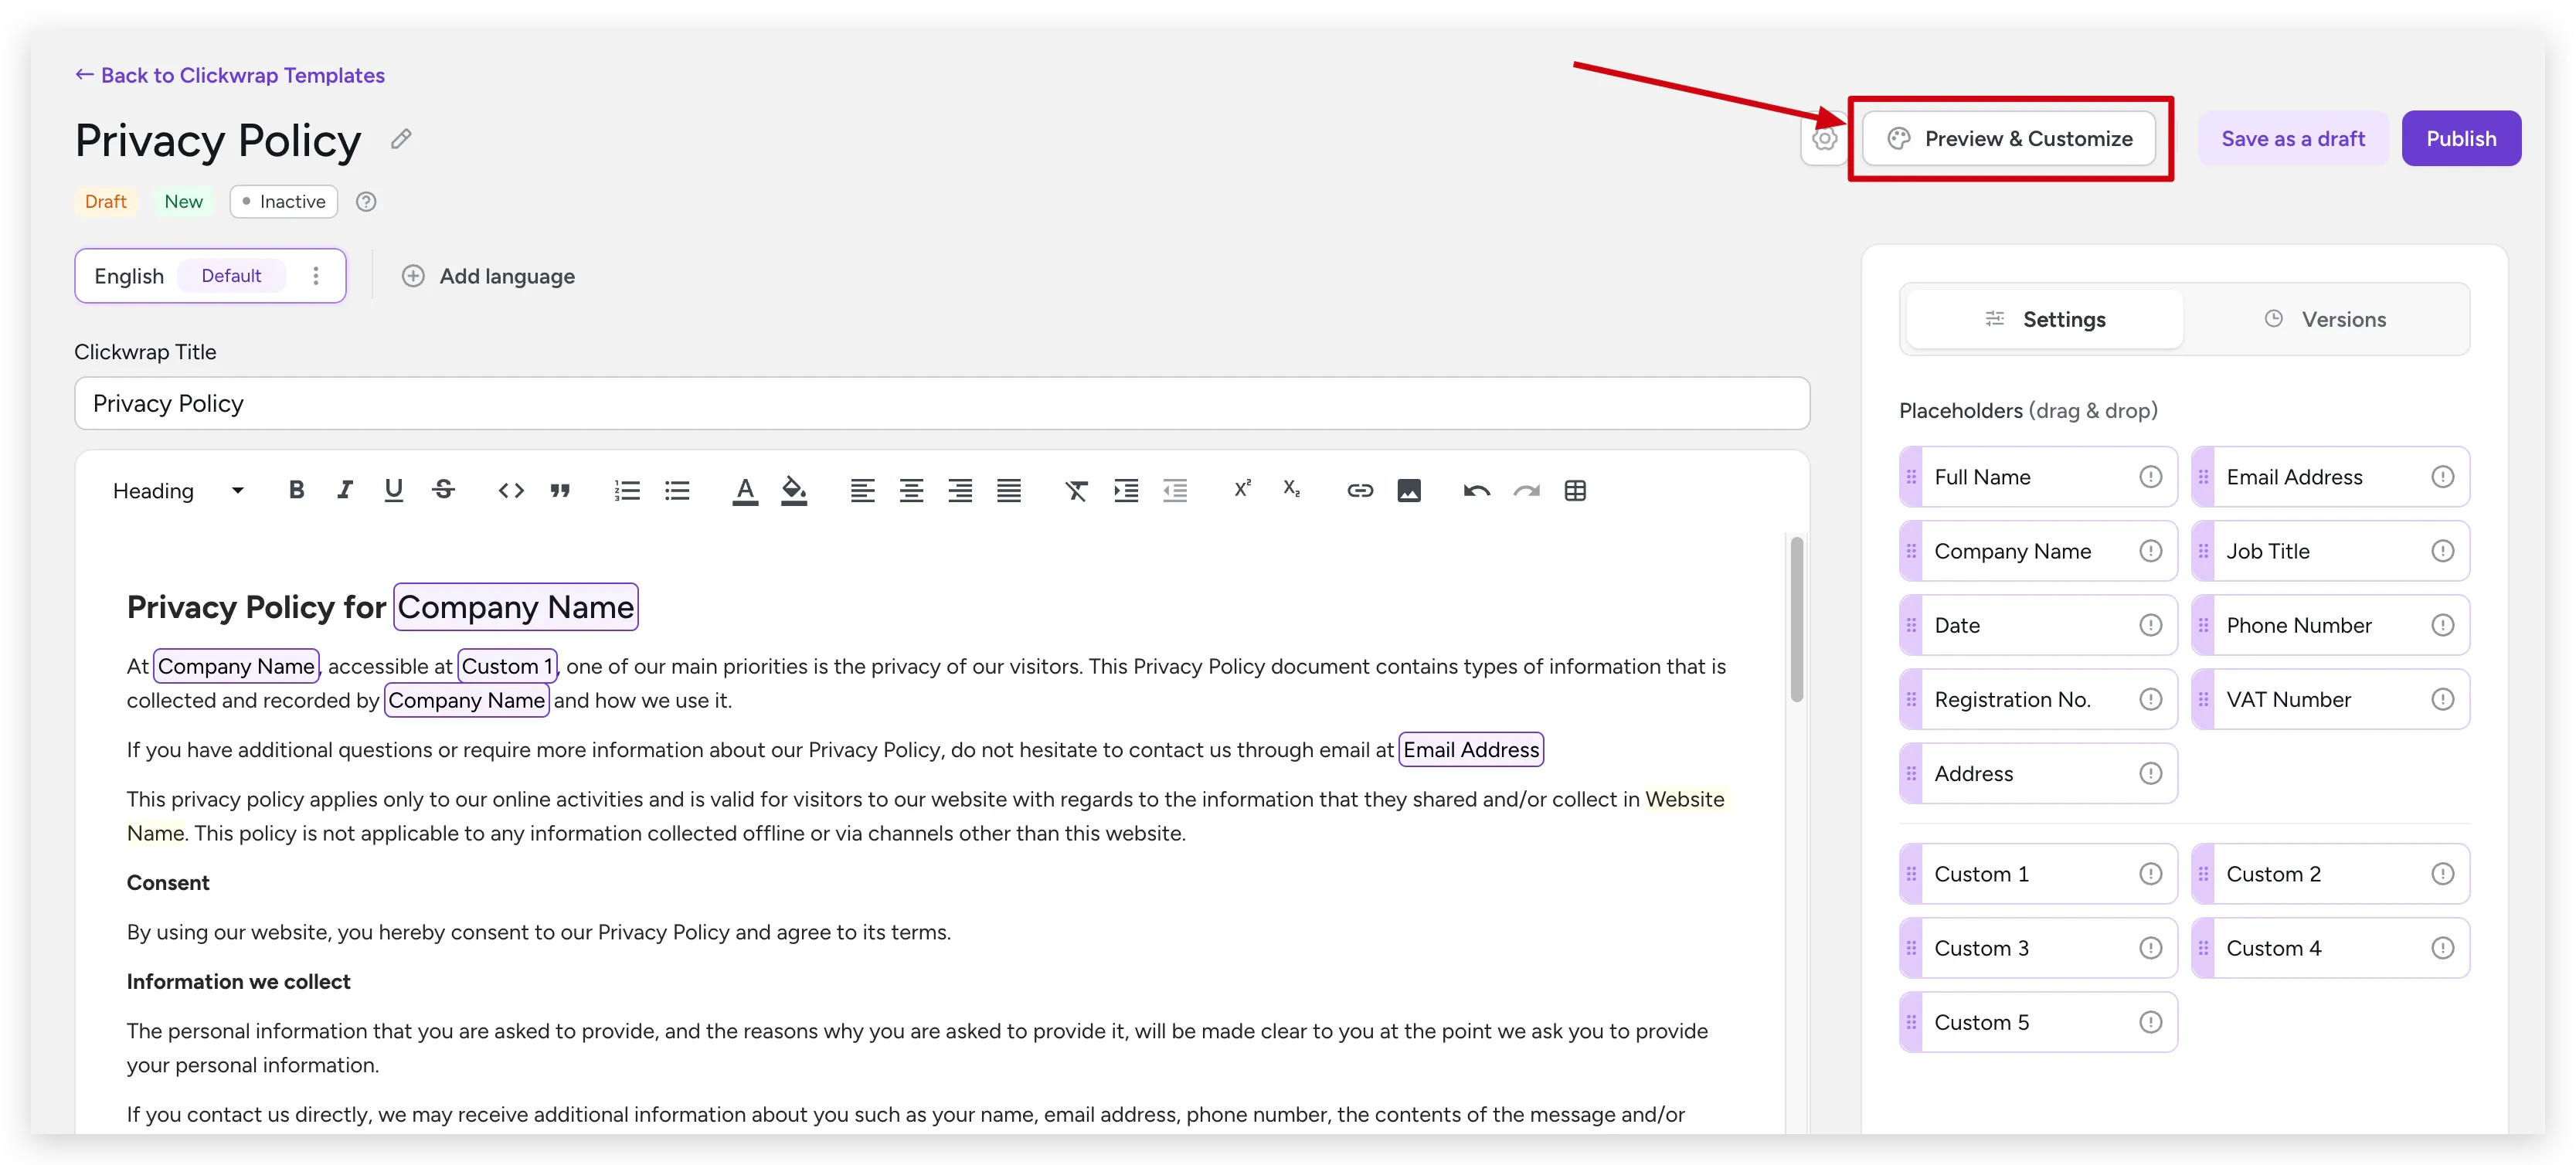
Go to Templates and open the desired template.
Adjust settings
The left panel shows a real-time preview. The right panel contains all customization options. Changes are reflected immediately in the preview.
Changes are reflected in the SDK after saving. It may take a few minutes
for the new configuration to propagate.
Some customization options are available only on paid plans. Visit clickterm.com/pricing for plan details.
Dashboard customization applies to dialog mode only. Inline clickwrap
appearance is customized via code using the
style option — see
ClicktermDom styling reference.Related
Product Guide: Widget appearance
Detailed overview of the customization screen.
Displaying a clickwrap
How to show the dialog from your integration code.