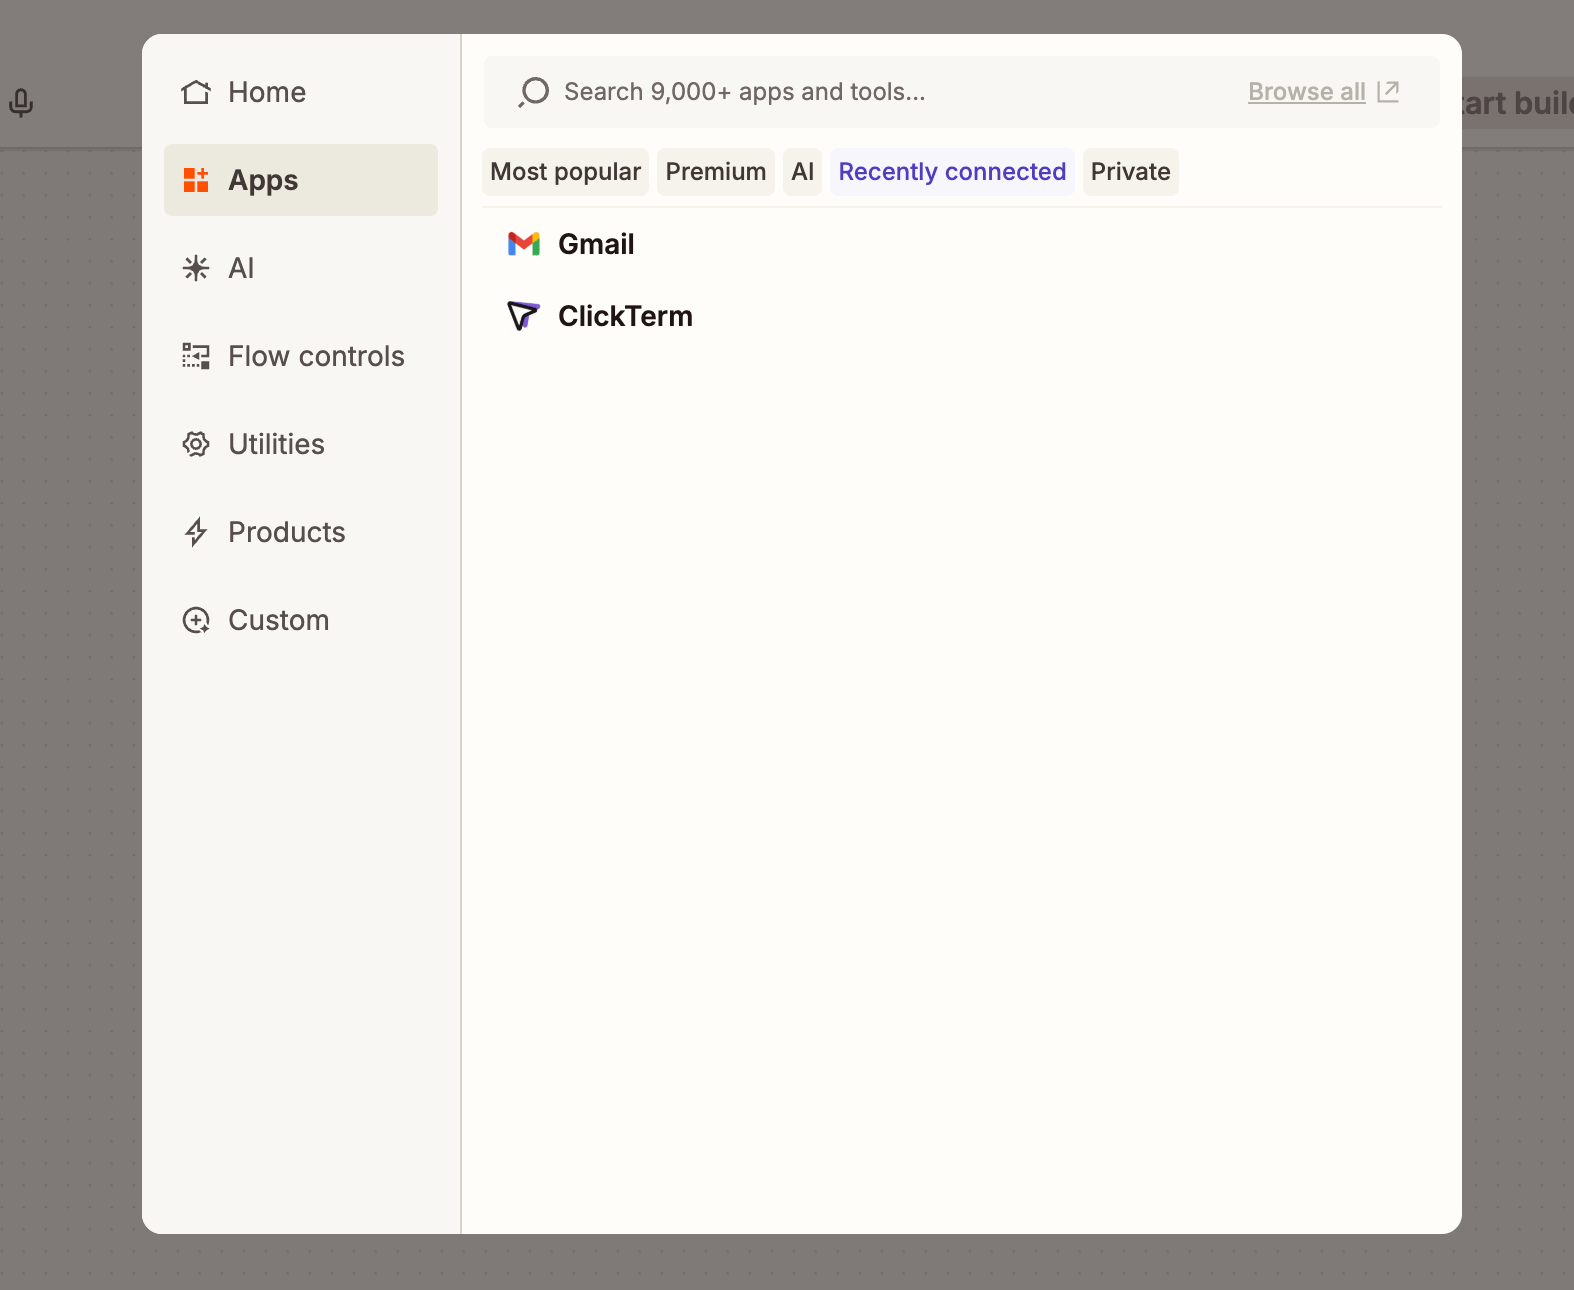
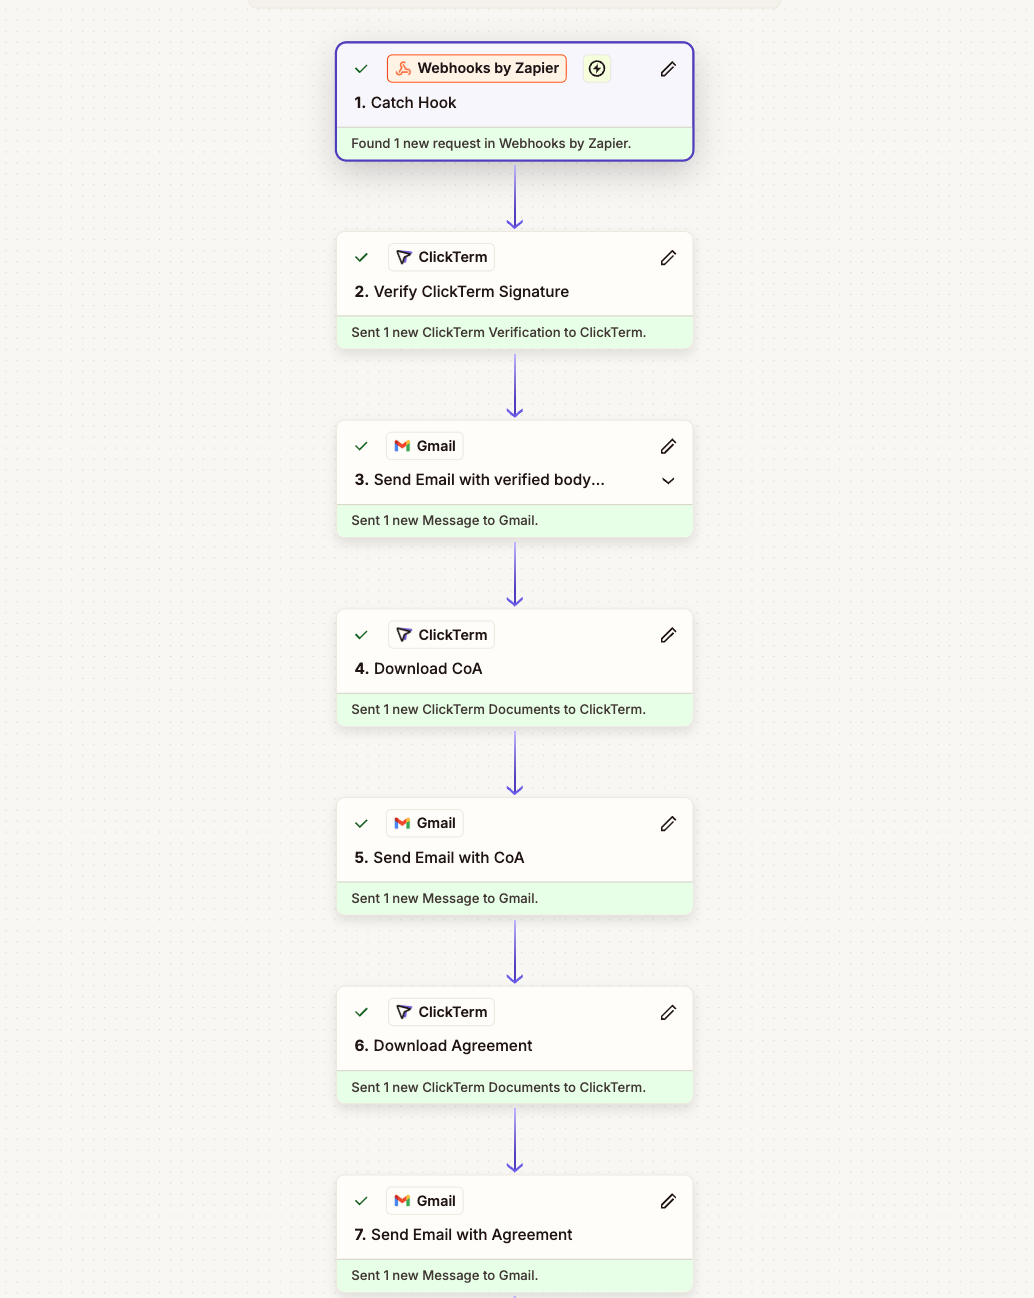
The ClickTerm app is available on Zapier. Once connected to your Zapier account, you can add ClickTerm as a step in any Zap to verify clickwrap acceptance, branch on the result, and download the signed Agreement or Certificate of Acceptance.
ClickTerm Zapier app in the Zap editor
ClickTerm provides actions (steps that perform work in a Zap), not a trigger. Your application sends the verification data into a Zap using Webhooks by Zapier as the trigger step; ClickTerm actions then run against that data.
The Zapier app is most useful when you don’t run a backend. ClickTerm’s public API requires your appKey to be sent server-side, so it can’t be called from a no-code app, a marketing site, or any client-only workflow. The ClickTerm Zapier app solves this by holding your appId and appKey securely in the Zapier connection and calling the API on your behalf — Zapier becomes your backend.If you do run a backend, you can call the public API directly. Zapier is then optional — useful mainly for orchestrating downstream tools (Slack, Drive, your CRM) without writing extra code.
A clicktermSignature returned by the SDK when the user accepts or declines. For more details check Displaying a clickwrap.
Never expose your App Key in client-side code. The App Key is used
only for backend verification calls. The client SDK uses only the App ID.
Store the App Key safely — it won’t display again after creation, but can be
regenerated. Regenerating the key requires updating your backend configuration.
Your application posts the clicktermSignature to a webhook URL created with Webhooks by Zapier (the Zap’s trigger). Inside the Zap, the ClickTerm Zapier app then verifies the Signature using the credentials from your ClickTerm App and, optionally, downloads the signed documents.
1
User responds to the clickwrap
Your application displays the clickwrap using the SDK. The end user accepts or declines.
2
SDK returns a Signature
The SDK returns a clicktermSignature to your application — a signed token capturing the user’s response. For more details check Displaying a clickwrap.
3
Send the Signature to Zapier
Your application posts the clicktermSignature to a Webhooks by Zapier URL. This is what triggers the Zap.
4
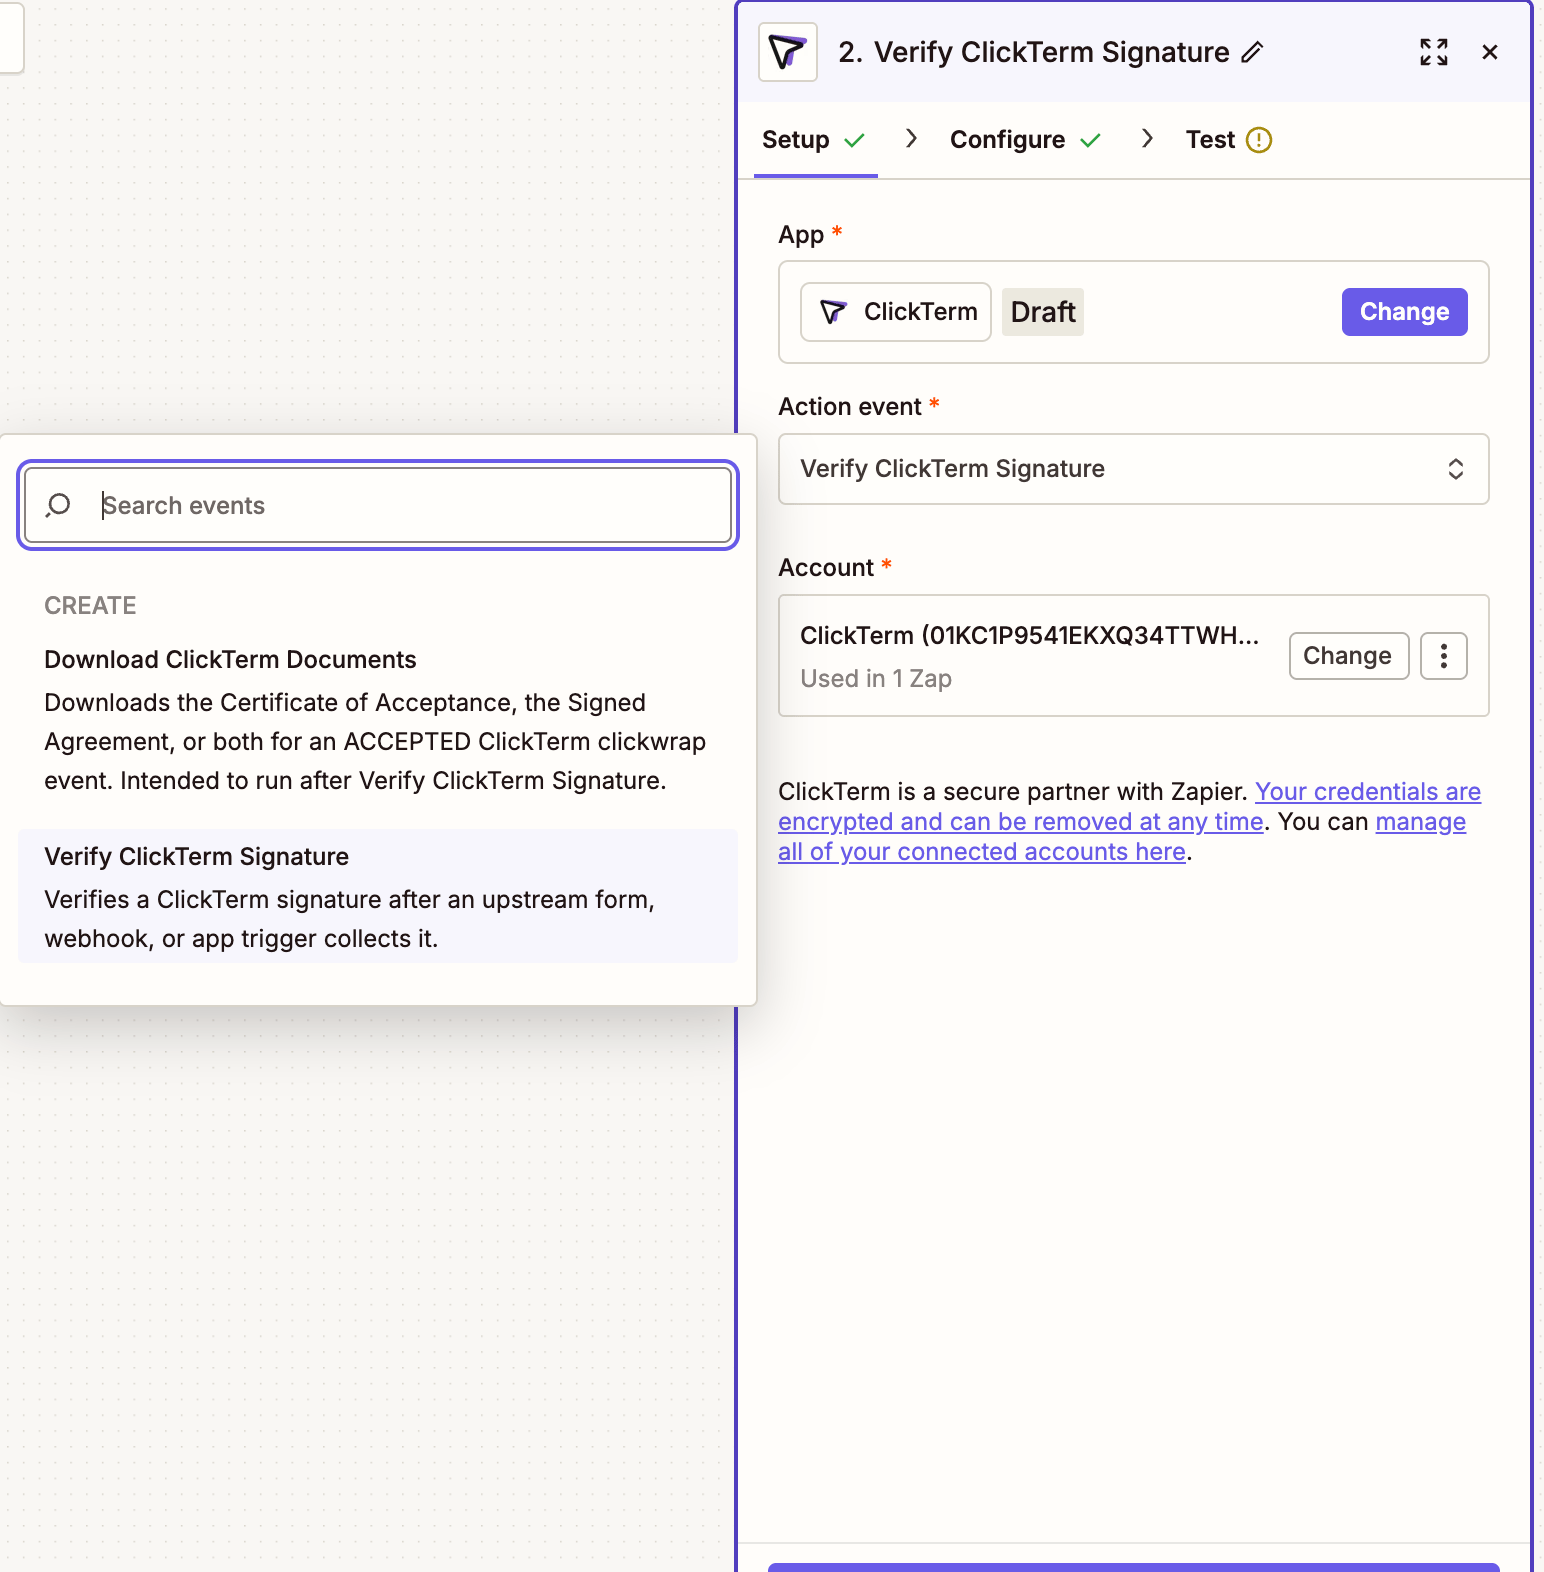
Verify with the ClickTerm Zapier app
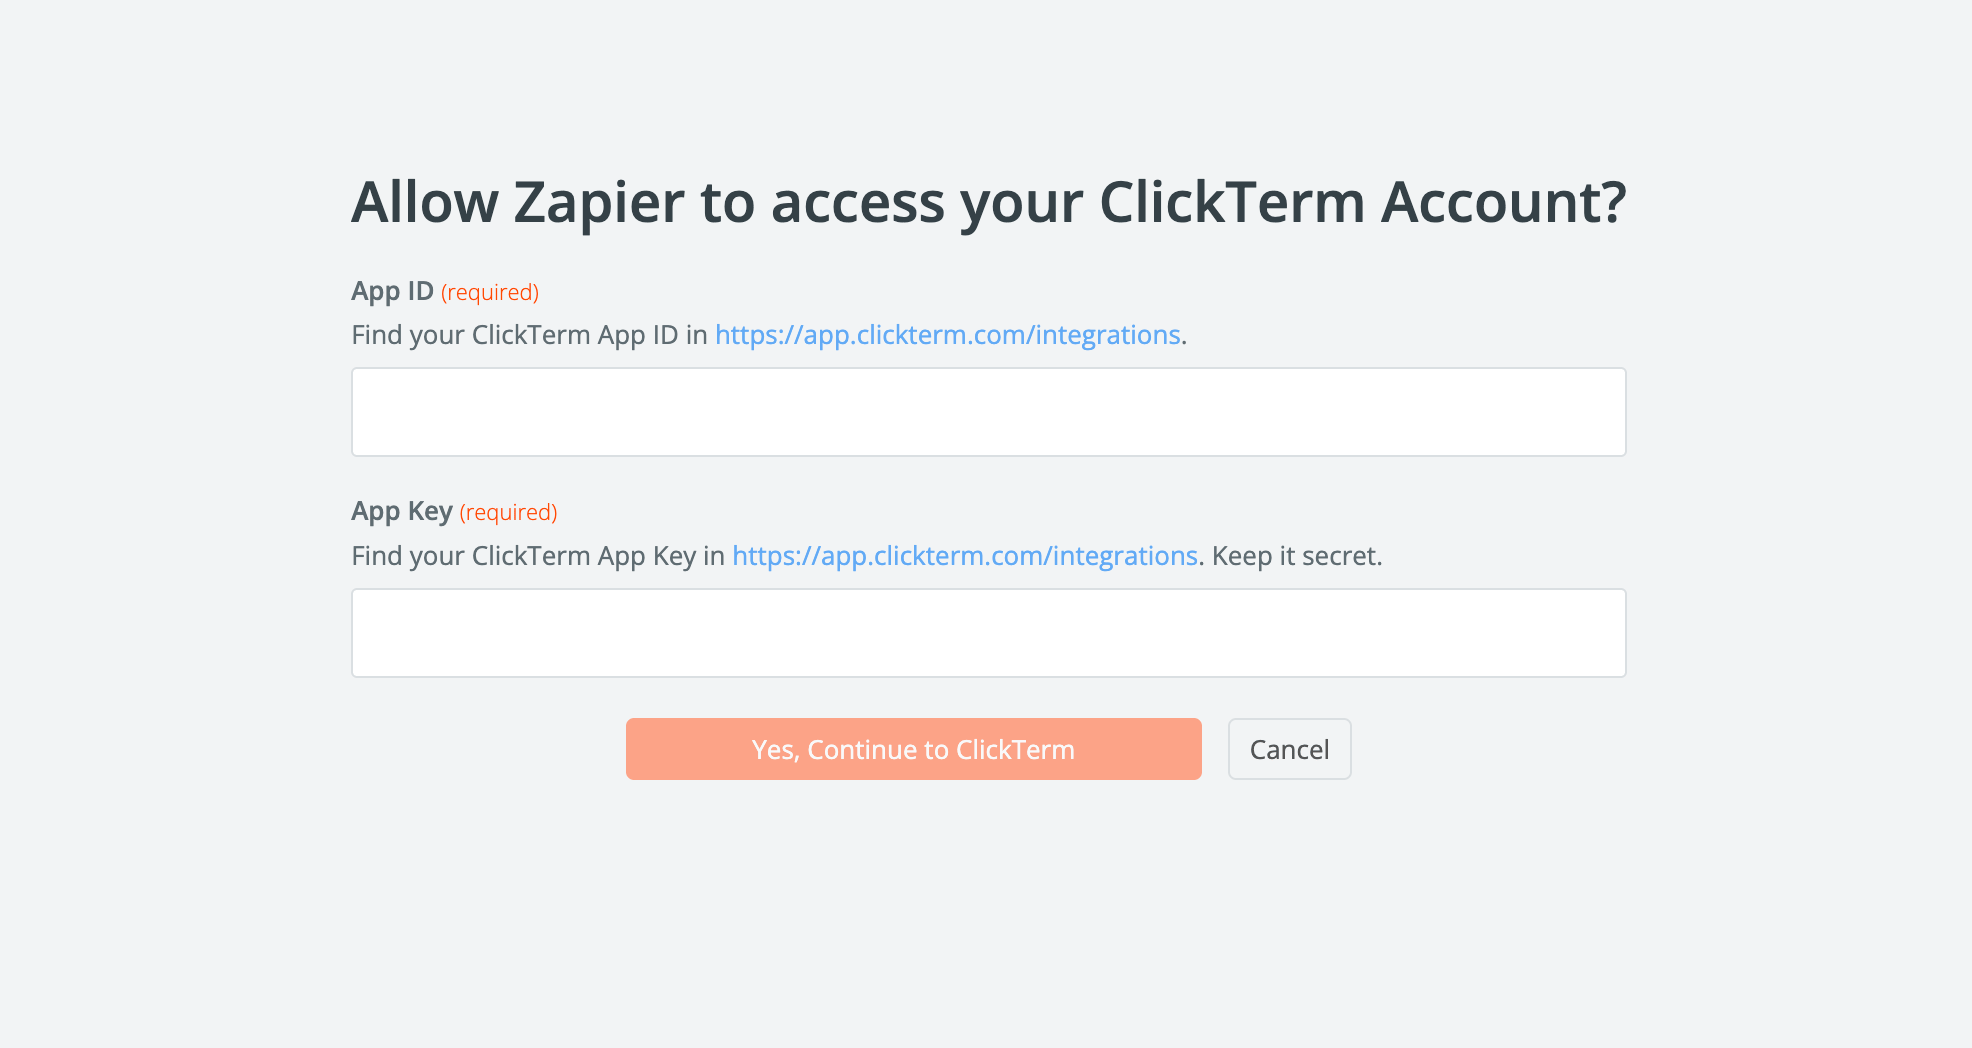
Add the ClickTerm Zapier app as the next step in the Zap. It verifies the Signature using the appId and appKey from your ClickTerm App (created on the Integrations page). The result includes a status of ACCEPTED or DECLINED.
Configuring the ClickTerm Zapier app step
Connecting your ClickTerm App credentials to Zapier
5
Continue conditionally
Use the verified status to continue, branch, or stop the Zap.
6
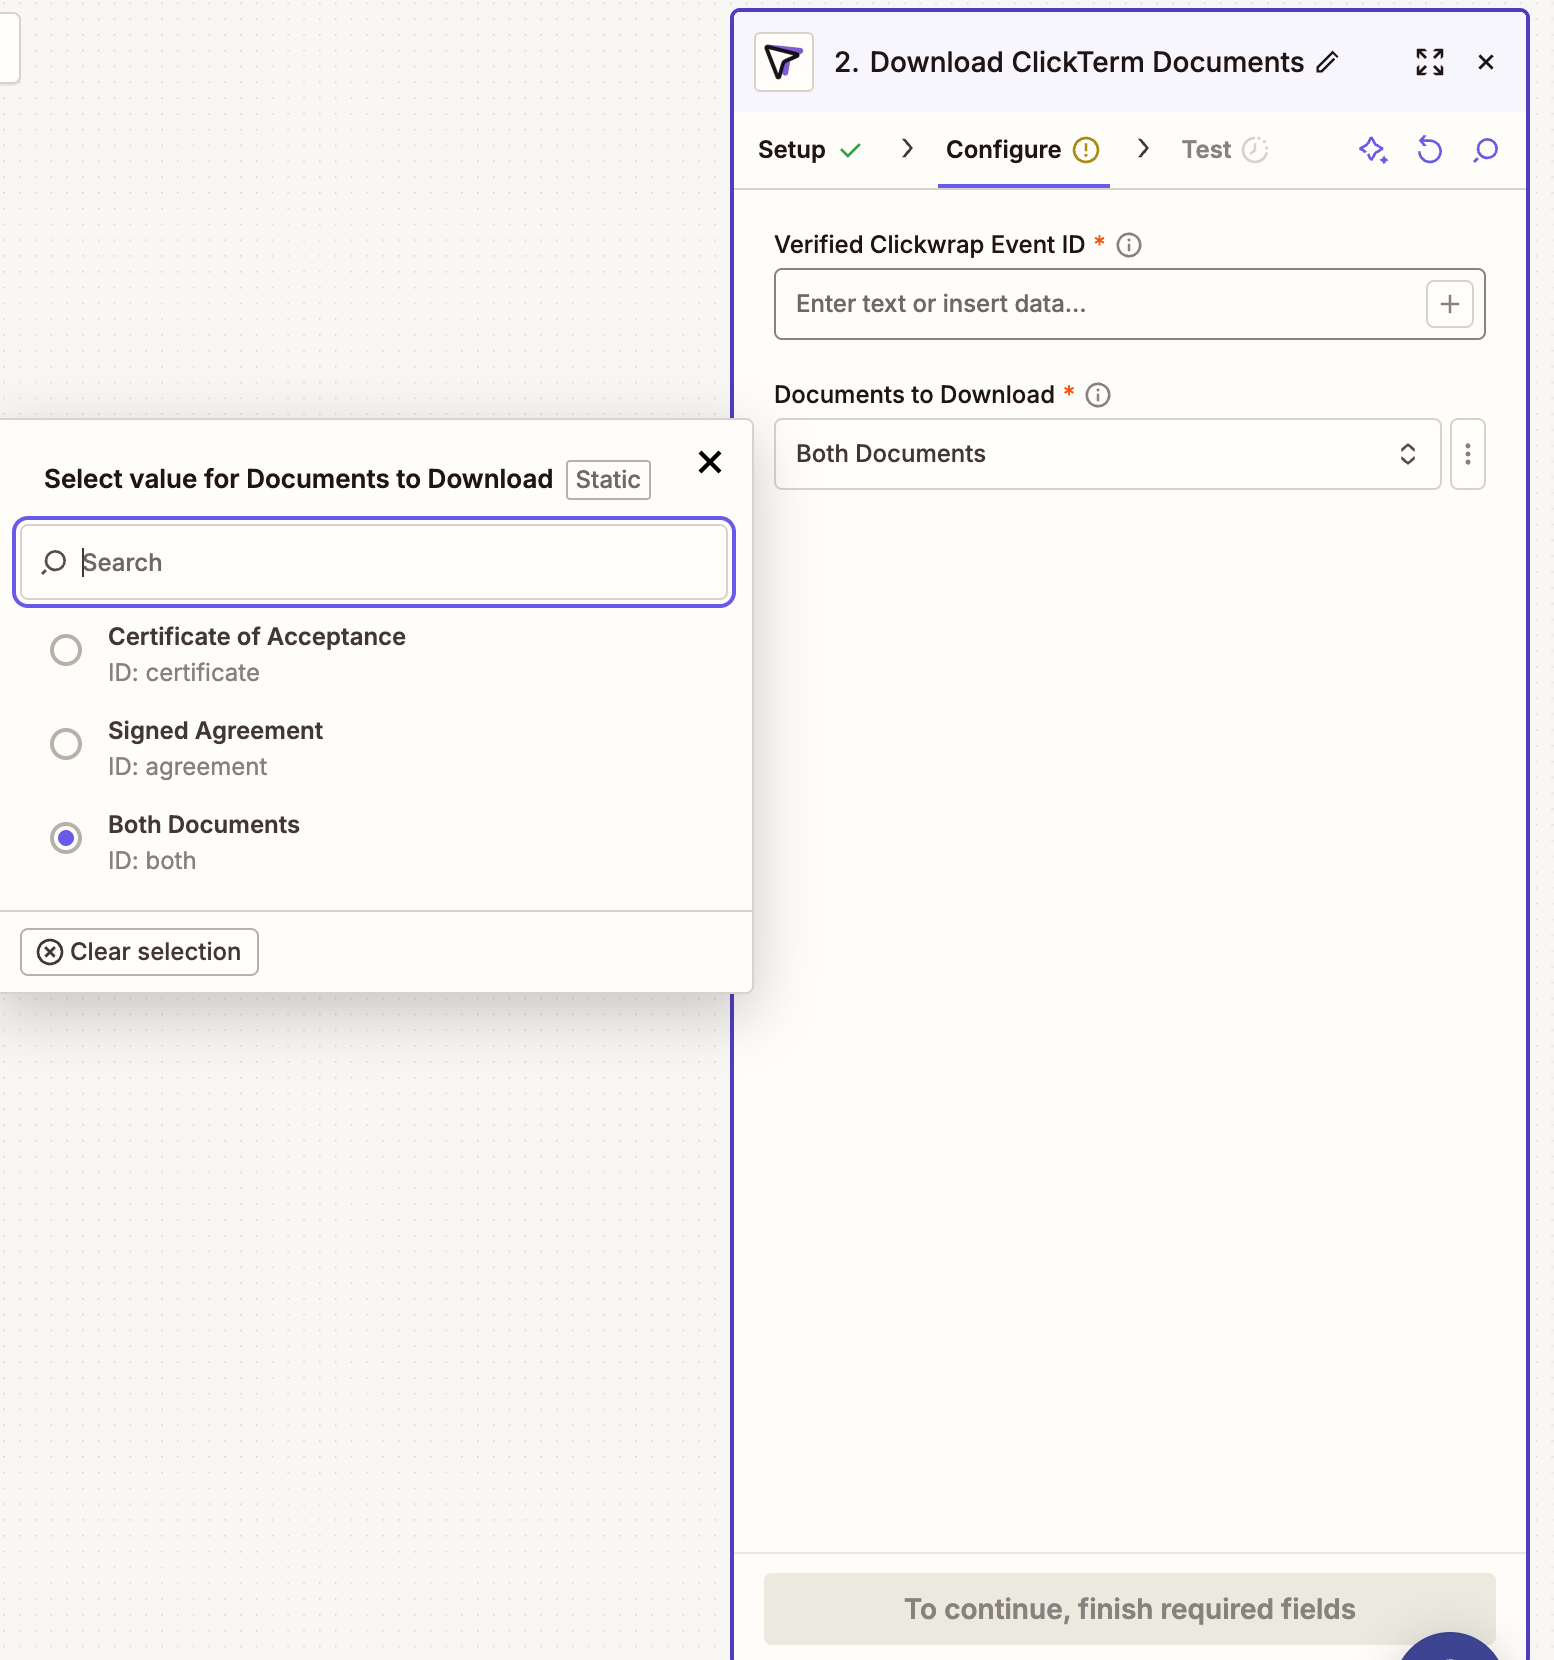
Optionally fetch PDFs
For verified ACCEPTED events, the ClickTerm Zapier app can download the Agreement PDF or Certificate of Acceptance, which you can pass to downstream Zap steps (Drive, Slack, your CRM, etc.).